KC Conception is an Actress, TV host, Jewelry Designer and so much more.
I am not surprised when she collaborated with Happy Skin Gel Polish to create her own collection. I mean this girl is a Jane of all Trades!
So I got my hands on the two shades from the limited edition collection. These shades were personally chosen by KC herself inspired by her favorite flower: The Rose.
I created a very simple nail art design inspired from the bottle and the design printed.
I call this Falling Petals.
Step 1:
Apply 2 coats of Beauty. Beauty is a luxurious apricot color, a striking modern nude.
The polish itself gives off high shine. 1 coat is enough to cover your nail base but I always like 2 coats for extra boost of color! Let dry.
Step 2:
Apply Mirror-Shine Top Coat which is supposed to seal the deal. But for this particular nail art design, I use this as a tool to successfully create flower petals.
In this step, you should act quickly. Apply a single coat of this top coat and quickly go to step 3 making sure the top coat won't get dry!

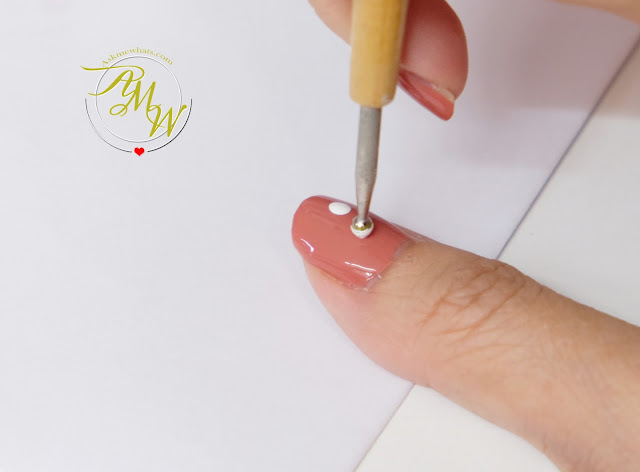
Using a white polish of choice, I used the Born Pretty Store white polish which I recently purchased, I used a bigger sized dotting tool and dot gently on the wet top coat.
Because the top coat is still wet, the dots gets dispersed in a pretty manner! Dots are bigger and sometimes uneven which is what we want!
Step 3:
By the time you're done with the white dots, the Top Coat is dry at this point, it's okay! Pick the next shade called Power.
Power is a deep cherry hue shade that looks really nice, somewhat like bloodshot red! Dot this color on a piece of paper and pick up a smaller dotting tool.
Randomly dot on top of the white big dots created earlier as shown o photo below.
Let your creativity flow! I love this step, I can just randomly dots wherever I want to!
Step 4:
This is optional. But I like how glitters can really liven up any nail art designs. Just make sure the glitters are small and it won't "blur" out your design.
Tada!
This is my version of a falling petals inspired by the bottle and flower design on the bottle of Happy Skin Express Gel Polish x KC.

Do you like this?
Would you try to recreate this?
Would you try to recreate this?
Happy Skin x KC collection are available in Happy Skin stores nationwide. Also available online www.happyskincosmetics.com.
Keep smilin'


No comments:
Post a Comment
I'd love to hear from you! Feel free to comment your questions, suggestions and just anything you may want to say! Keep smiling and stay happy!