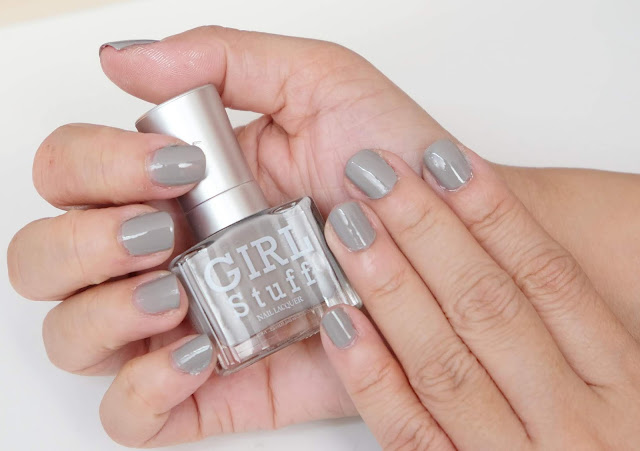
Before 2018 ended, Girlstuff revealed their Holiday Collection called Au Naturel (Back to Basics).
It wasn't the Holiday collection I was expecting but it was definitely one of those pleasant surprises because this turned out to be one of my TOP favorites! (I mean I love all the collection they released but this one is one of those rare moments I was just staring at all the polish shades wondering which one to use first and mind you, I usually make quick decisions!)
So after making sure my fingers are healed (from allergies), I finally did a very simple nail art inspired by one of my favorite shade from the collection called Exposed.
Exposed is one of those gray shades you always wanted to sport but can't seem to find the right ones that would work for your skin tone --- well, this is it! This is a perfect shade for ANY skin tone!
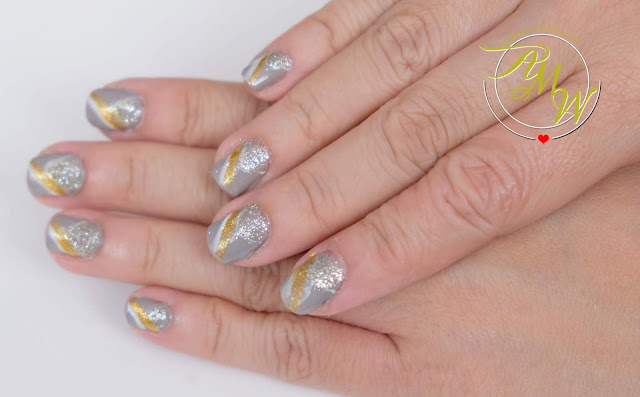
AMW Version: Sparkly Space Gray Nails
I inserted a sparkly element to celebrate the start of 2019! Think about fireworks!
Step 1:
Apply a base coat to protect your nails, I used Girlstuff Nail Revive prior to taking photos, let it dry and go ahead and apply your choice of base color.
I picked Expose shade and applied 2 coats. Wait for it to completely dry which will take approximately 10 minutes max!
Step 2:
Using a 2-way nail art pen in white, create a V-like outline. You can opt for nail stickers to get a perfect V, since I don't have time to wait for my nail polish to be COMPLETELY DRY, putting stickers will ruin your nail base so I want it quick and fast so I went ahead and drew mine!
Step 3:
Using a nail art brush, apply Orly Nail Lacquer in Tiara or any sparkly polish!
Step 4:
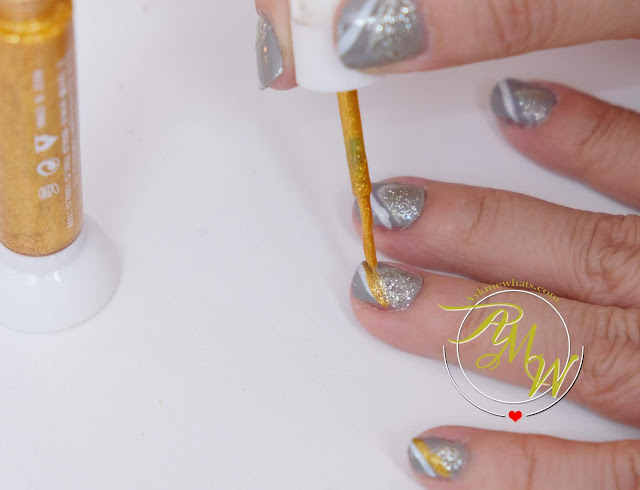
Using a thin brush, apply a diagonal line as shown on photo below.
Step 5:
Apply a second diagonal line, this time using a gold element to create more color and vibrancy!
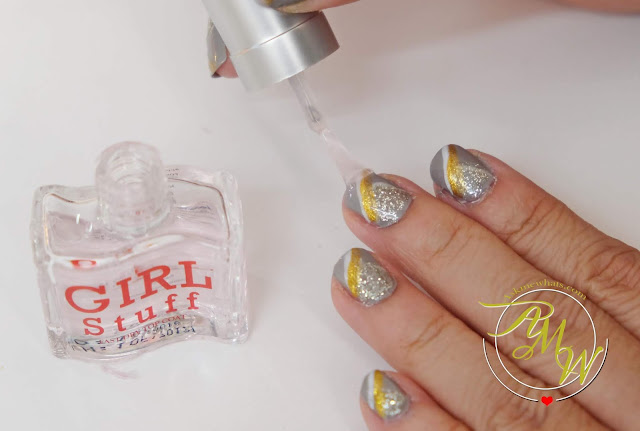
Step 6:
Making sure all the designs are dry, add a layer of GirlStuff fast dry top coat.
Tadah! A simple art that actually got some attention!
And I love pairing this with my favorite gray romper suit from Uniqlo!
What do you think about my version of a sparkly space gray nails?
Do you have other color recommendation for the upcoming Chinese New Years?
Keep smilin'
Stay happy!


No comments:
Post a Comment
I'd love to hear from you! Feel free to comment your questions, suggestions and just anything you may want to say! Keep smiling and stay happy!