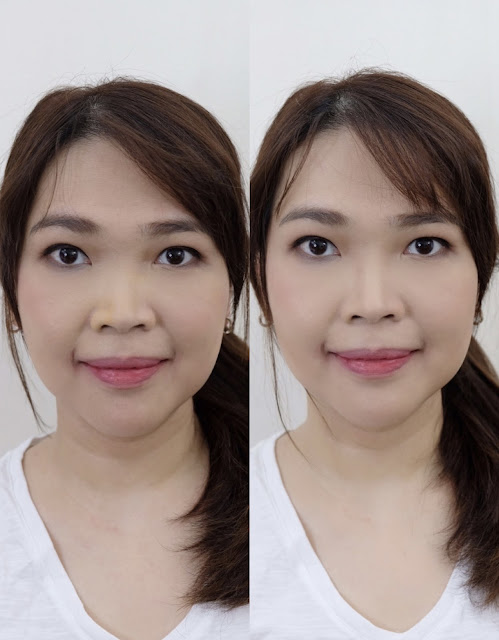
Brows, eyeliner application.
Those were just some of the complaints I get from make up students. Why is it so hard?
One makeup application technique that is actually more difficult as you can imagine--- Contouring and Highlighting.
I remembered having a hard time when I was starting out as a Bridal Make Up Artist! With HD Camera and videos, I was stressed to make sure the contour and highlight I am doing for the brides are perfect. Imagine having crooked nose or fatty face from misuse of highlight and contour products?
I . Was. SCARED! Scared enough to always ask my husband to always check for the final look (2nd set of eyes always work!) Ayan, I openly shared what I was scared off, but that's normal. And being scared meant you will strive to learn and master your own craft!
So fast forward to today, I still do contouring and highlighting a lot! These days, people are into no-makeup makeup look! But this step is actually very important since we are on a selfie-era! Everything had to be on videos or photos! Kaya better be Camera-ready!
LIKE ME!
- Do not follow fads or trends. Know your face shape and features.
- Highlight areas you want to "pop" on photos or videos like nose bridge, chin, cheekbones, etc...
- Contour areas of your face that you want to recede from light. Ex. Double Chin, wide nose, round face, etc...
- Start by applying lightly, build color instead of applying a a lot and worry about diffusing pigments.
- A little does go a long way! The more you see the contour or highlight product, the more unnatural it looks.
- Always take a photo of yourself before you head out of the door - use flash and no flash.
- Work your makeup under good lighting. You cannot apply makeup in the dark!
- Always use a separate clean face brush at the end as a "diffuser". This will help remove demarcation lines without adding more product!


No comments:
Post a Comment
I'd love to hear from you! Feel free to comment your questions, suggestions and just anything you may want to say! Keep smiling and stay happy!