Happy Friday!
I am so happy today I am finally sharing you a nail art design using Solique x Agoo collection. My right pointer finger suffered from extreme allergic reaction (it looks so bad I can't take a photo of my hand!) That explains why my nails were bare for the past weeks (if you watch my stories on Instagram).
Thankfully, just in time for the holidays and just in time for Solique's newest collection (after Solique x Benefit), Agoo Bengzon came up with a 2nd collection of this sought after no-UV lamp gel polish!
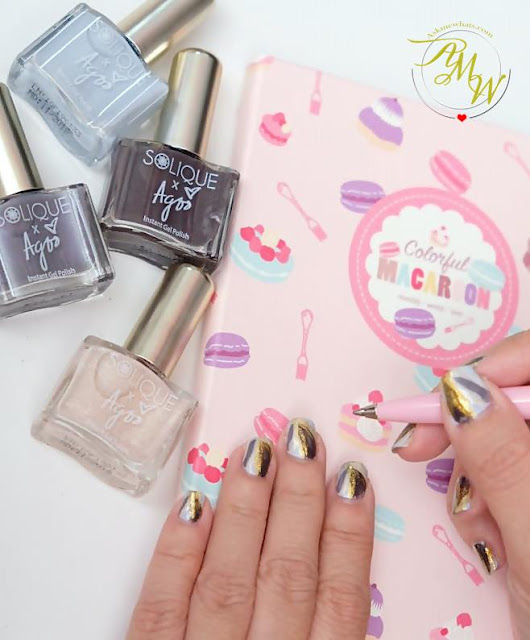
It was a surprise for me but I was able to use ALL the shades in the collection for this particular nail art design. That said, the shades work together and my nails look festive in a non-traditional way!
The nail art design is easy to do because it doesn't have to be perfect, all you need to do is to create a bit of swirl and better if you have a thin nail art brush!
Step 1:
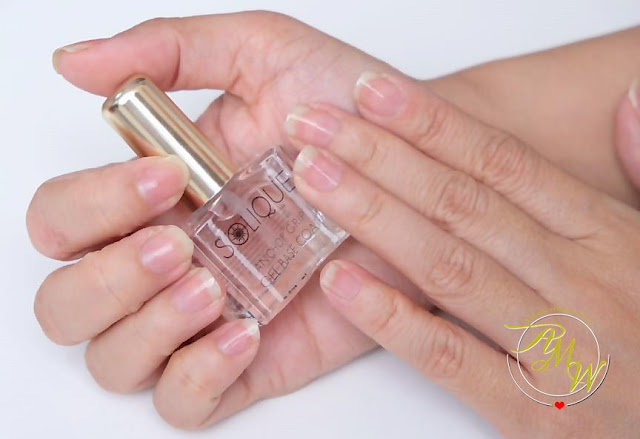
Apply a coat or 2 of Solique Anchor Grip Gel Base Coat. Let dry.
Step 2:
Picked a pretty pastel-hue shade called ROBIN. This is a super cute shade I wasn't expecting Agoo to release this as part of her collection. It's a nice surprise!
You can apply 2 coats but since one coat is highly pigmented enough, I went for one since I'll be layering other shades anyway.
Step 3:
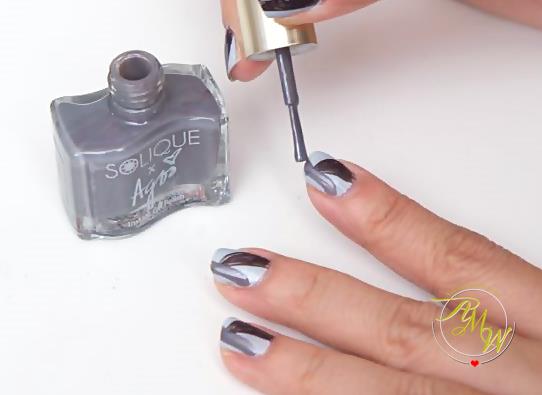
Picking a sharp nail art brush or any art brush from the bookstore, apply a nice "beach-like wave" using the shade ROYAL as shown on photo below. This is the darkest and seems to be my favorite shade especially for the toes --- goodbye to red toenails for now!
Step 4:
SLATE is a perfect cool-tone grey shade that is a nice medium shade complementing the pastel Nylon and darkness of Royal. I use the brush of Solique directly and apply an opposite wave connecting Royal.
Step 5:
Now, this is the time to add some bright accent. Thankful that Agoo included a nude shade in the collection, best of all this has gold specs making this a perfect holiday shade.
Using a think brush, apply nylon as an outline to the shade Slate.
Step 6:
Since I wanted to be more festive, I used my gold 2-way nail art pen and create an outline on the shade Royal. I added a bit of strokes to create fireworks-like design.
Step 7:
Lastly, once the design is completely dry, seal everything with Solique Gel Top Coat.
(Tip: to keep the polish longer, don't forget to apply your nail tips!)
VOILA!
Thanks Solique and Agoo for bringing in lovely colors! I am so excited to create more designs using the nice shades!
How do you like my different version of Holiday nails?
For more information, LIKE Girlstuff Nail Polish on Facebook, Follow them on Instagram for more nail art inspirations. Visit http://www.girlstufforever.com/
Keep smiling
Stay happy!


No comments:
Post a Comment
I'd love to hear from you! Feel free to comment your questions, suggestions and just anything you may want to say! Keep smiling and stay happy!