Fimo nails started in the AMW household quite early! It was year 2009 when I ordered online and had Mr. AMW manually cut them for me (Read FIMO CLAY HERE)
I've done several nail art designs featuring the Post Cut Fimo Clay here ---
And expect me to share more because, Girlstuff came up with pre-cut Fimo Polymer Clay and they are even cuter than ever! So my nail art design is inspired by the cute clay and Kyle can't get enough of these!
Step 1:
Apply a base coat to protect your nails. Apply 2 coats of Sally Hansen Miracle Gel in shade Tipsy Gypsy.
This shade is amazing and I love how shiny it looks! Keep in mind that the Miracle Gel Polish will take effect with the Top Coat. When you plan to purchase one, YOU HAVE to purchase the top coat.
Step 2:
This is the Miracle Gel Top Coat that seals the deal. Since I'm creating nail art, this does not only "seal" the Miracle Gel Polish but it also works as a "glue" for my Fimo Polymer Clay.
A very important tip to note, press the polymer clay while the top coat is still wet! Press hard using a nail art dotting tool or toothpick if you don't have such tool.
You can opt to add more designs in a nail! I 2 each on middle fingernail and thumbnail and leave the rest bare!
Step 3:
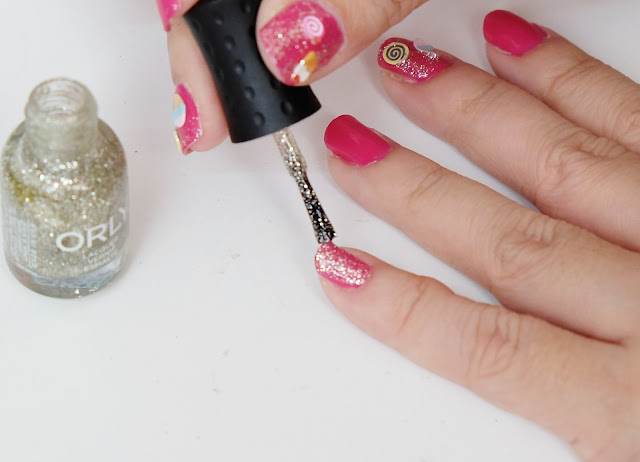
With just 2 Fimo Polymer Clay, everything looks bare, so it is great to add on glitter polish like this one from Orly is such a nice contrast!
Step 4:
I also painted the same glitter polish from Orly on pinkie fingernail.
Easy right? This is one way to start off with nail art if you aren't into drawing anything!
How do you like my Sweet Fimo Nails --- Adult edition? :D
Keep smilin'


Whoa glad that notd is back.
ReplyDeleteheheh thanks for appreciating
Delete